Setting Up and Configuring a Homegroup in Windows 10
-
Create a Homegroup:
- Click on the Start button and type “HomeGroup”.
- Select “HomeGroup” from the search results.
- Click on the “Create a homegroup” button.
- Choose the libraries and folders you want to share, and then click “Next”.
- Create a password for the homegroup and click “Finish”.
-
Join an Existing Homegroup:
- Click on the Start button and type “HomeGroup”.
- Select “HomeGroup” from the search results.
- Click on the “Join an existing homegroup” button.
- Enter the password for the homegroup you want to join.
- Click on the “Join” button.
-
Configure Homegroup Settings:
- Click on the Start button and type “HomeGroup”.
- Select “HomeGroup” from the search results.
- Click on the “Change homegroup settings” link.
- Change the name or password of the homegroup, or add or remove shared libraries and folders.
-
Troubleshoot Homegroup Issues:
- Can’t create or join a homegroup: Make sure that all computers are connected to the same network. Check that the network adapter is enabled on each computer, and that the firewall is not blocking homegroup connections.
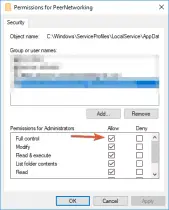
- Can’t see shared files or folders: Make sure that the shared files or folders are located in a shared library, and that you have permission to access them. Additionally, check that the sharing settings are configured correctly on the computer that is sharing the files or folders.
- Homegroup disappears: If the homegroup disappears, it may be because one of the computers in the homegroup was removed or renamed. To recreate the homegroup, you will need to create a new one.
With these steps, you can easily set up and configure a homegroup in Windows 10 to share files, folders, and printers with other computers on your home network.## Setting Up and Configuring a Homegroup in Windows 10
Have you ever wanted to share files and printers between computers on your home network? A homegroup can make sharing files and printers between computers easy and straightforward. Here’s a step-by-step guide on how to set up and configure a homegroup in Windows 10:
Executive Summary
Setting up and utilizing a homegroup in Windows 10 enables seamless sharing of files and printers within a local network. This article provides a comprehensive guide on setting up a homegroup, allowing Windows users to connect multiple devices, share resources, and enjoy collaborative workflows.
Introduction
In today’s technologically advanced homes, effectively sharing resources among computers is crucial. Setting up a homegroup in Windows 10 offers an effortless solution for sharing files and printers within a network. This comprehensive guide explores the advantages of homegroups, providing detailed instructions for setup, configuration, and troubleshooting.
Five Subtopics for Setting Up a Homegroup in Windows 10
1. Creating a Homegroup
- Enable Network Discovery on all computers involved.
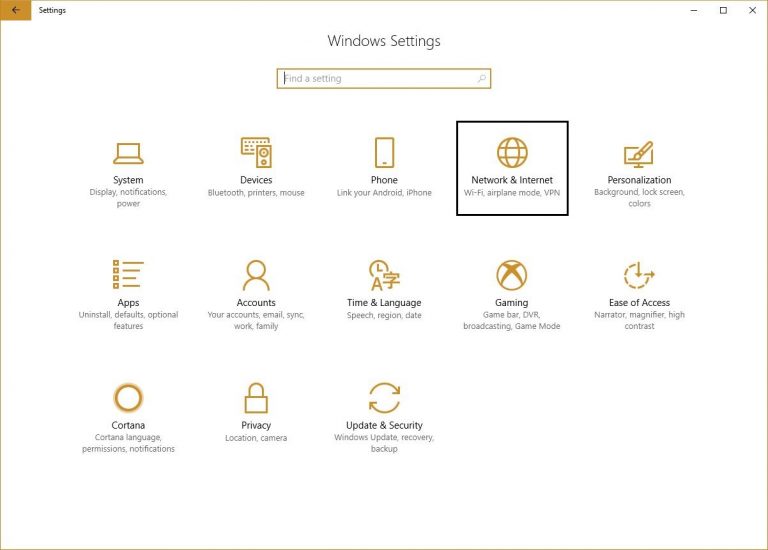
- Go to Control Panel > Network and Internet > HomeGroup.
- Select “Create a HomeGroup” and follow the on-screen instructions.
2. Joining a Homegroup
- Open Control Panel > Network and Internet > HomeGroup.
- Select “Join a Homegroup” and follow the on-screen instructions.
- Enter the homegroup password created during setup.
3. Sharing Files and Folders
- Right-click on the files or folders you want to share.
- Select “Share with” and choose “HomeGroup (Read/Write).”
- Adjust permissions as needed.
4. Sharing Printers
- Go to Control Panel > Printers and Scanners.
- Right-click on the printer you want to share and select “Share.”
- Tick the checkbox for “Share this printer” and click “OK.”
5. Troubleshooting Homegroup Issues
- Ensure all computers are connected to the same network.
- Disable antivirus software that may block homegroup connections.
- Check the homegroup password on all computers.
- Restart computers and routers if necessary.
Conclusion
A homegroup provides a convenient and effective way to share files and printers between computers on a home network. By following the steps outlined in this guide, you can easily create, join, and configure a homegroup in Windows 10. This allows you to access shared resources seamlessly, collaborate on projects, and enjoy the benefits of home networking.
Keyword Phrase Tags
- Windows 10 HomeGroup
- Sharing Files and Printers
- Home Network Configuration
- Troubleshooting Homegroup Issues
- Seamless Resource Sharing
This is an interesting post, and I appreciate your information.
This is a great idea for sharing files and resources within a home or small office environment.
This is a helpful guide, and I’m sure it will be useful to other users.
I’m not sure I understand how to set up a homegroup.
This seems like a lot of work. Is there an easier way to share files and resources?
I don’t have any other computers to share files with.
I’m not sure why I would need to set up a homegroup.
This is a very detailed guide, and I’m grateful for the information.
I’m having trouble joining an existing homegroup.
I’m not sure how to create a password for the homegroup.
This is a great article. I’ll have to try it out.
This is the best guide I’ve found.
I’m still having trouble setting up a homegroup.
This is a very helpful guide. I’ve been able to set up a homegroup without any problems.