Step 1: Acquire the Product
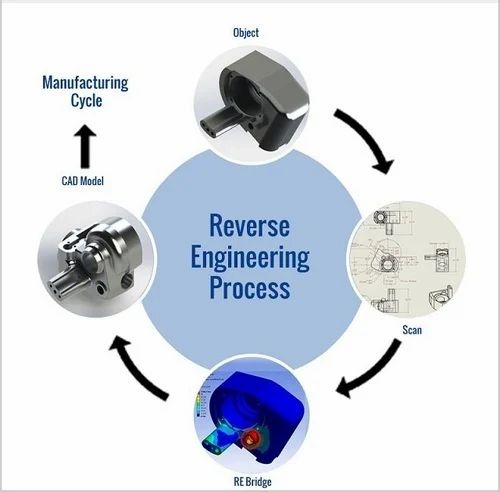
Obtain the physical product or digital files, such as software or documentation, to be reverse engineered.
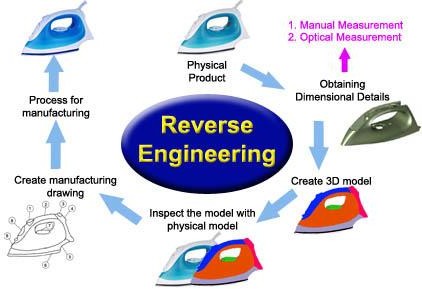
Step 2: Disassemble and Analyze
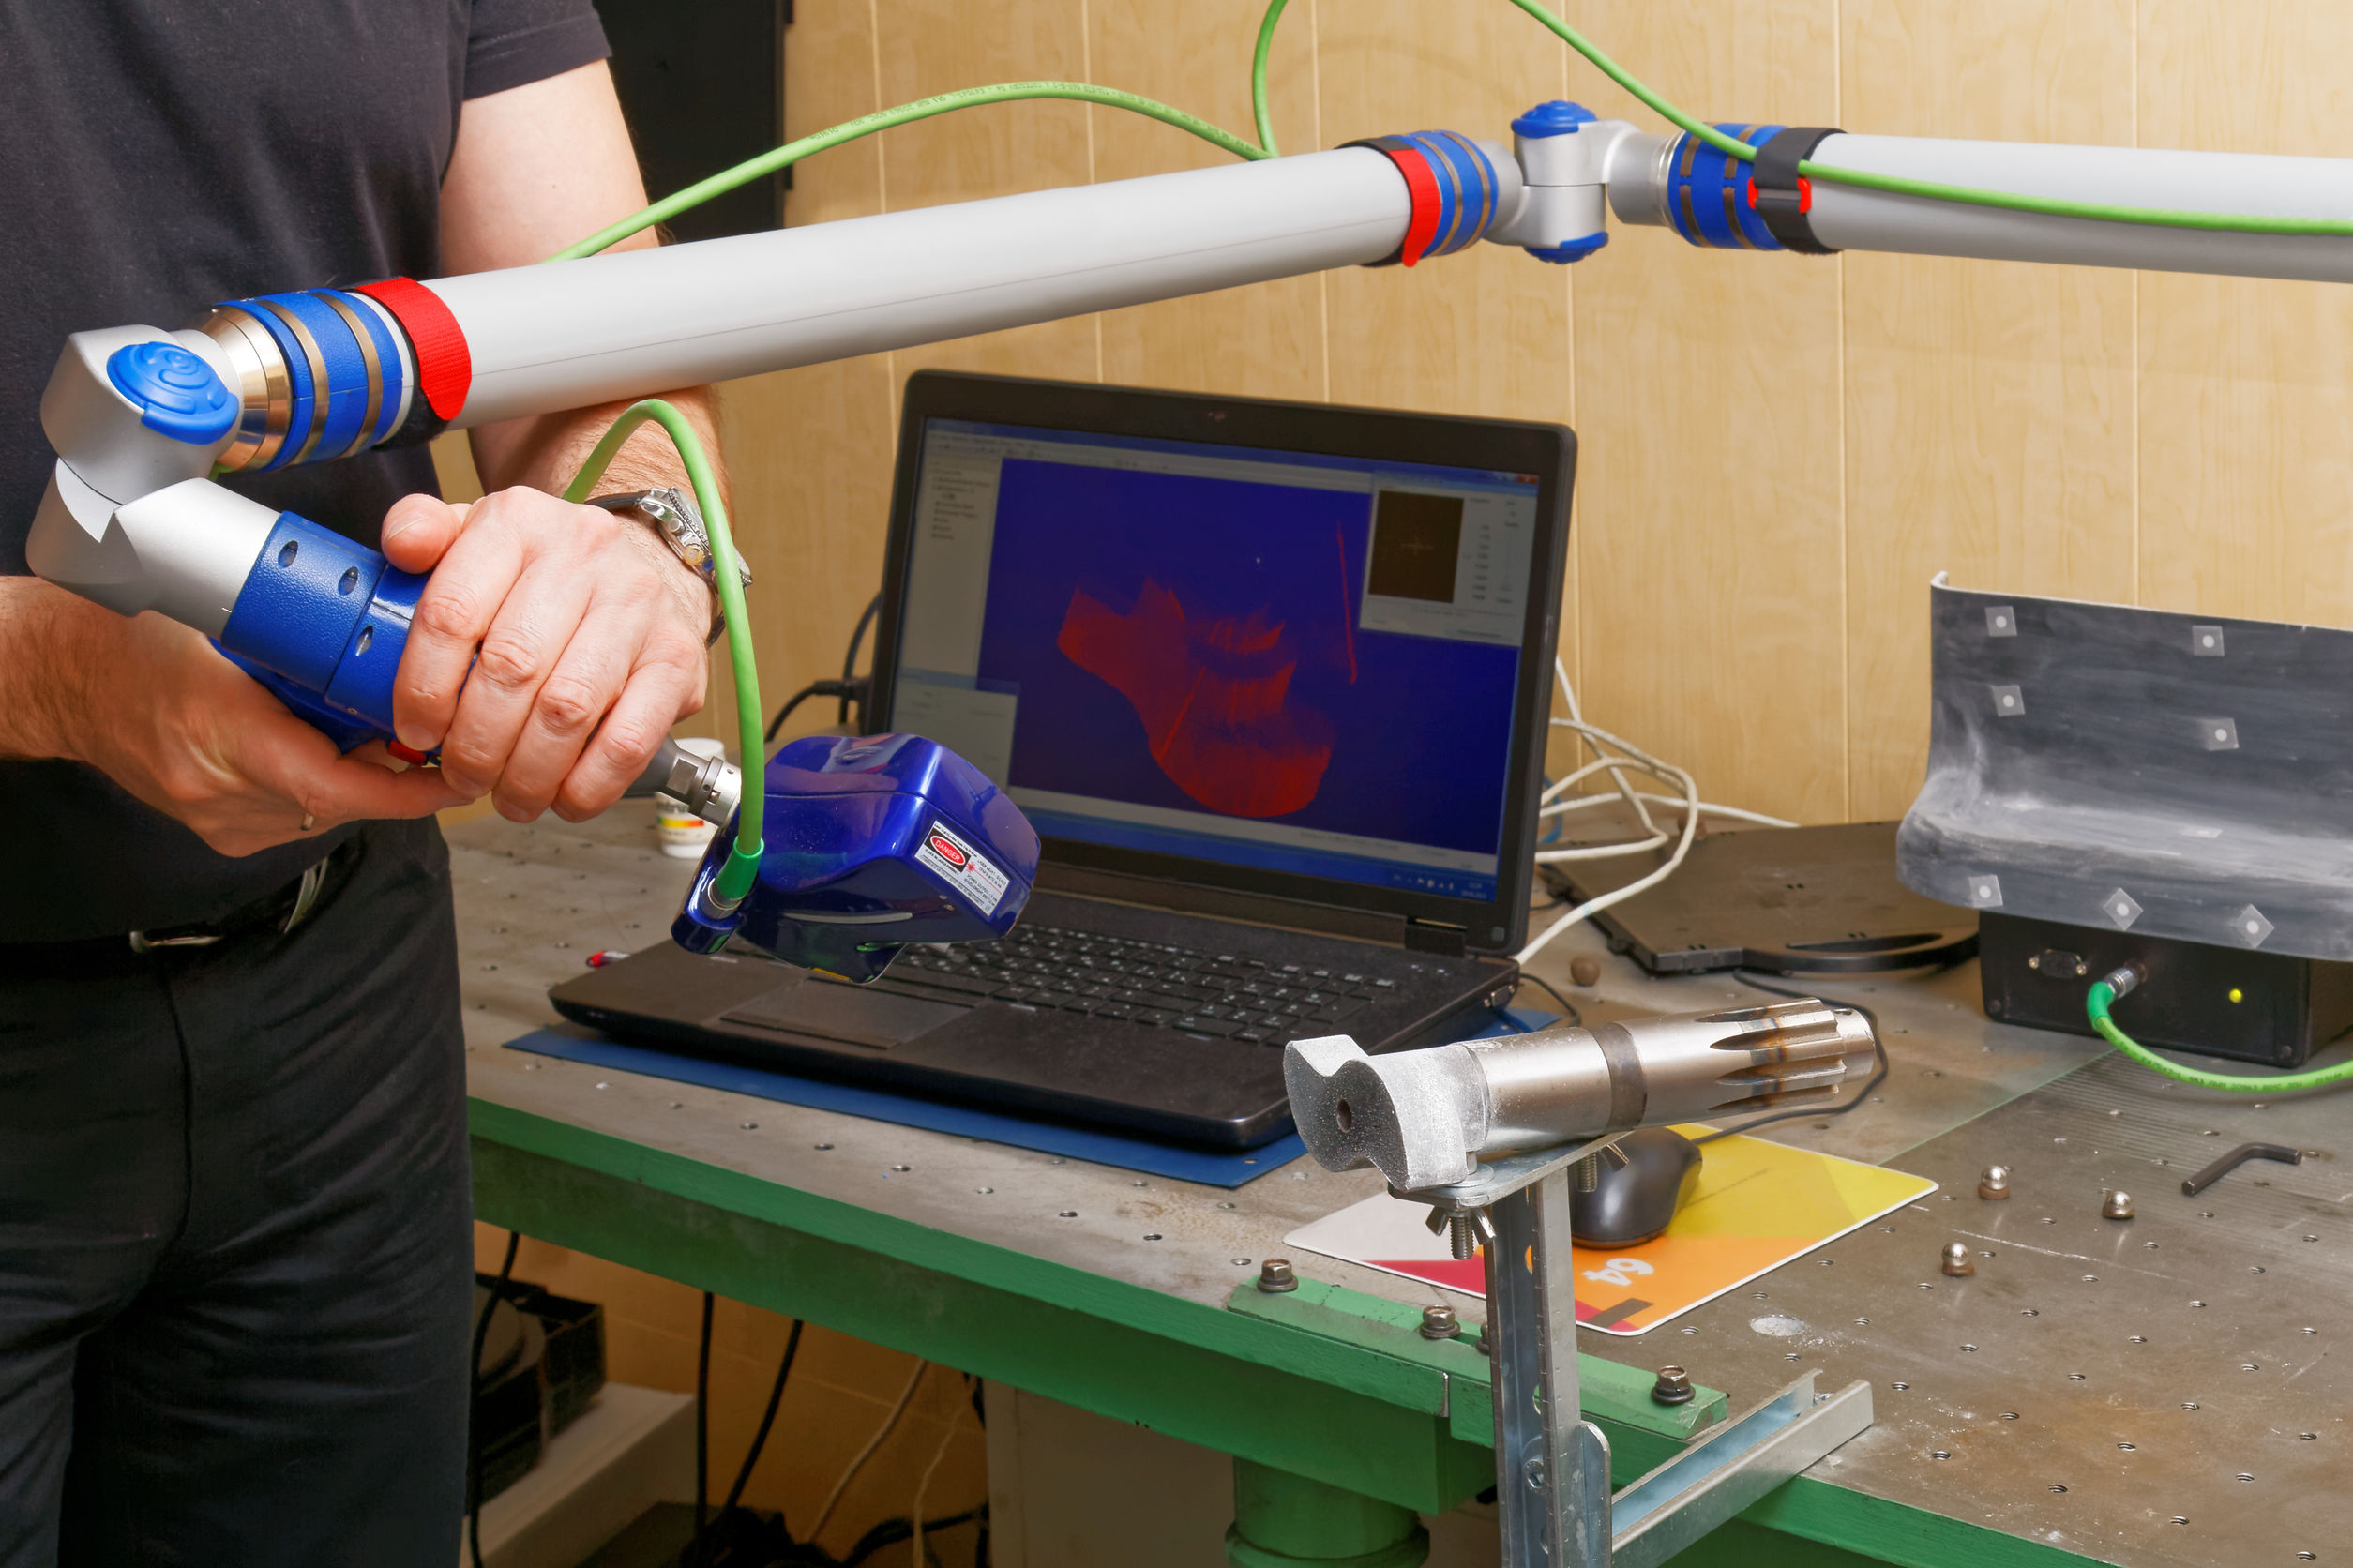
Disassemble the product into its component parts. Analyze each part, identifying its materials, structure, and functionality.
Step 3: Identify Key Features and Mechanisms
Determine the core features and mechanisms that the product relies on for its operation. Focus on understanding how the components interact with each other.
Step 4: Create Functional Diagrams
Develop diagrams that illustrate the overall functionality of the product and its subsystems. This will help visualize the flow of data and identify critical processes.
Step 5: Reverse Engineer Software
If software is involved, decompile or dissemble the code to understand its structure and algorithms. Identify key modules, variables, and control flow.
Step 6: Document the Design
Create detailed technical documentation that describes the product’s design, construction, and operation. This documentation becomes the basis for future modifications or enhancements.
Step 7: Prototyping and Testing
Based on the analysis, create prototypes to test the accuracy and functionality of the reverse-engineered design. Conduct thorough testing to ensure the product performs as expected.
Step 8: Continuous Improvement
The reverse engineering process is iterative, allowing for ongoing improvements and optimizations. Utilize feedback from testing and real-world usage to refine the design and ensure the product remains relevant and efficient.