Optimizing Windows 10 for Gaming Performance

Windows 10 is a great operating system for gaming, but there are a few things you can do to optimize it for even better performance. Here are some tips:
- Update your drivers. The first step to optimizing Windows 10 for gaming is to make sure your drivers are up to date. This includes your graphics card drivers, motherboard drivers, and network drivers. You can usually find the latest drivers on the manufacturer’s website.
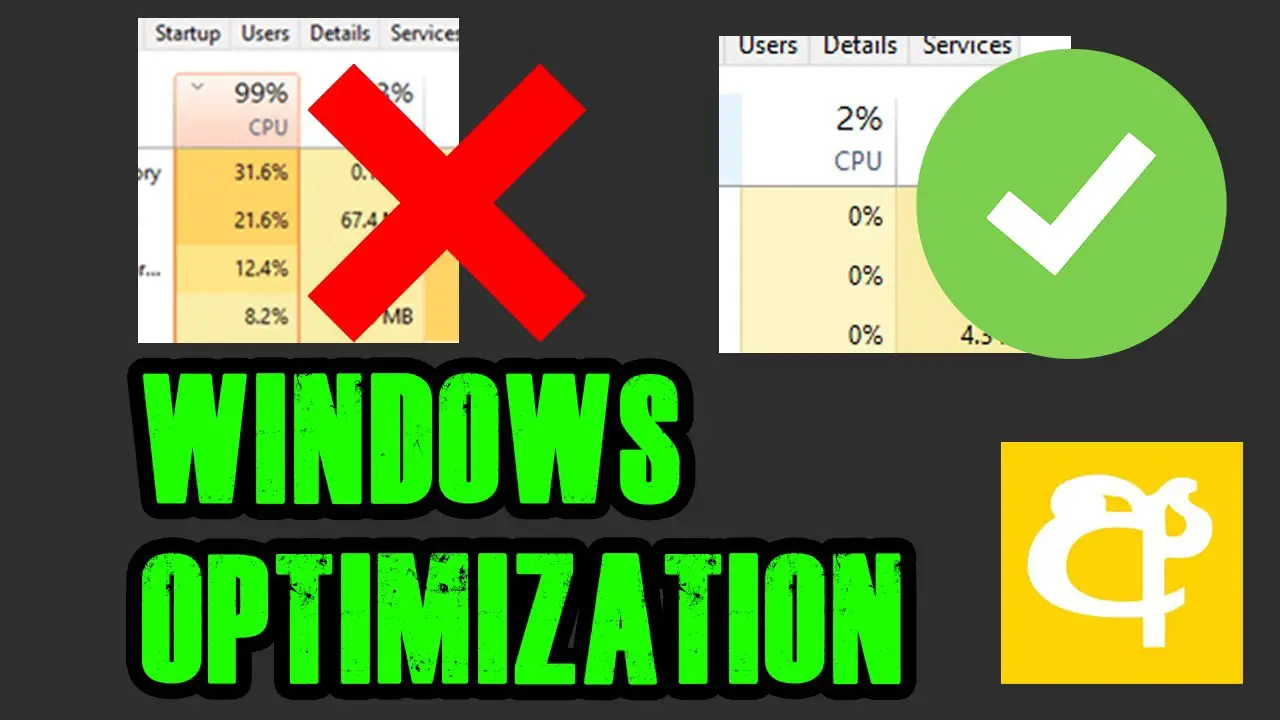
- Disable unnecessary services. Windows 10 comes with a number of services that can be disabled to free up resources for gaming. Some of the services you can disable include the Windows Search service, the Windows Update service, and the Windows Firewall service.
- Configure your power settings. Windows 10 has a number of power settings that can be configured to improve gaming performance. You can access the power settings in the Control Panel.
- Turn off gaming mode. Windows 10 has a gaming mode that can be turned on to improve gaming performance. However, some users have reported that gaming mode can actually reduce performance in some games. If you’re experiencing any performance issues, try turning off gaming mode.
- Use a game booster. There are a number of third-party game boosters available that can help improve gaming performance. Game boosters can do a number of things, such as free up memory, optimize your network settings, and disable unnecessary processes.
By following these tips, you can optimize Windows 10 for gaming performance and enjoy a smoother, more enjoyable gaming experience.## Optimizing Windows 10 for Gaming Performance

Executive Summary
Upgrading your hardware is one of the best ways to improve your gaming performance, but it can be expensive. Luckily, there are a number of free and easy ways to optimize Windows 10 for gaming without spending a dime.
Introduction
If you’re an avid gamer, you know that having a well-optimized computer can make all the difference between a smooth, enjoyable gaming experience and one that’s frustrating and laggy. Windows 10 is a great operating system for gaming, but there are a few things you can do to tweak it for even better performance.
Game Mode
One of the easiest ways to improve gaming performance in Windows 10 is to enable Game Mode. This mode gives games priority over other processes, which can help to reduce lag and stuttering.
To enable Game Mode:
- Open the Settings app.
- Click on the “Gaming” tab.
- Toggle the “Game Mode” switch to “On.”
Graphics Settings
The graphics settings in Windows 10 can also have a big impact on gaming performance. To get the best possible performance, you’ll want to make sure that your graphics card drivers are up to date and that you’re using the optimal settings for your hardware.
To update your graphics card drivers:
- Visit the website of your graphics card manufacturer.
- Download the latest drivers for your card.
- Install the drivers.
To adjust your graphics settings:
- Open the Settings app.
- Click on the “System” tab.
- Click on the “Display” tab.
- Scroll down to the “Advanced display settings” section.
- Click on the “Graphics settings” link.
Power Settings
The power settings in Windows 10 can also affect gaming performance.
To optimize your power settings for gaming:
- Open the Settings app.
- Click on the “System” tab.
- Click on the “Power & sleep” tab.
- In the “Power & sleep” section, select the “High performance” power plan.
Virtual Memory
Virtual memory is a feature of Windows that allows your computer to use hard drive space as RAM. This can be helpful for improving gaming performance, especially if you have a limited amount of RAM.
To increase your virtual memory:
- Open the Control Panel.
- Click on the “System” icon.
- Click on the “Advanced system settings” link.
- In the “Advanced” tab, click on the “Performance” button.
- In the “Performance Options” window, click on the “Advanced” tab.
- In the “Virtual memory” section, click on the “Change” button.
- In the “Virtual Memory” window, select the drive that you want to use for virtual memory.
- Enter the amount of virtual memory that you want to use.
- Click on the “Set” button.
Conclusion
By following the tips in this article, you can easily optimize Windows 10 for gaming performance. This will help you to get the most out of your gaming experience and enjoy your games without lag or stuttering.
Keyword Phrase Tags
- Windows 10 gaming performance
- Optimize Windows 10 for gaming
- Game Mode
- Graphics settings
- Virtual memory
A very complete guide to maximizing your system for gaming! Thank you!
| sued Windows ten ahd had a minor hert attack at thee site of running progahms an closed it wih task man ahger
… I just want to play, why do I have to do so much just so it will run faster :/
mmm, very useful guide! Now I can finally play my games without lag again!
I found this guide to be quite informative and it helped me improve my gaming performance significantly.
bUt WiNdOwS tEn iS bEtTeR tHaN lInUx FoR gAmInG lol
Very helpful guide thank, will see if this will help with my potato pc
This guide needs more detail on how to overclock your GPU.
If you want to improve your gaming performance, you should also consider upgrading your hardware.
lol forget gaming performance, I just want my PC to turn on without freezing anymore XD