Minecraft Modding 101: Creating Your First Custom Mod
Executive Summary
Minecraft modding is a fun and rewarding way to customize your gameplay experience. This guide will walk you beginners through the basics of Minecraft modding, from setting up your development environment to creating and publishing your own mods.
Introduction
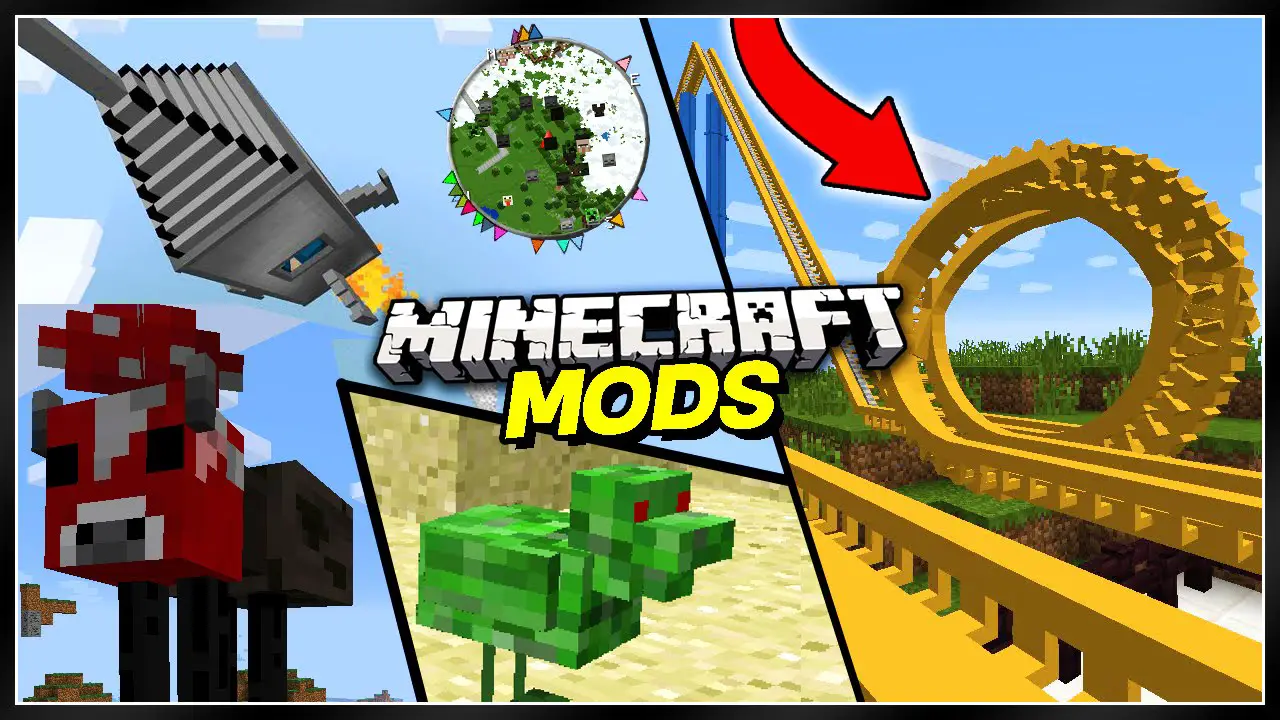
Minecraft is a sandbox video game that allows players to build with a variety of blocks in a 3D procedurally generated world. The game has a large and active modding community, which has created thousands of mods that add new content, features, and functionality to the game.
Getting Started
The first step to Minecraft modding is to set up your development environment. This includes installing the Java Development Kit (JDK), Minecraft Forge, and a text editor or IDE.
Once you have your development environment set up, you can start creating your first mod. The basic structure of a Minecraft mod is a Java class that extends the MinecraftForge class. In this class, you can define new items, blocks, entities, and other game objects.
Subtopics
1. Installing the Necessary Software
- Step 1: Install Java SE Development Kit (JDK) for your Operating System.
- Step 2: Get Minecraft Forge and run as administrator to install the necessary files.
- Step 3: Install an Integrated Development Environment (IDE), like IntelliJ or Eclipse.
- Step 4: Find Minecraft’s root directory appdata.minecraft.
- Step 5: Create a “mods” folder within the root directory.
2. Creating Your First Mod
- Step 1: Create a new Java class within your IDE.
- Step 2: Extend MinecraftForge within the new Java class file you created.
- Step 3: Add an @Mod annotation including your unique mod id inside your class.
- Step 4: Have fun and be creative with the code within your mod to alter or create something new.
3. Registering Items and Blocks
- Step 1: To add a custom item in Minecraft, extend Item.
- Step 2: To add a custom block, create a new class extending Block.
- Step 3: Use the Minecraft Forge’s Registry Events to register your item and/or block.
- Step 4: Provide three items, “modid”, “name”, and “registry” when registering items and blocks.
4. Modifying the World Generation
- Step 1: To customize world generation in the game, understand how biomes generate terrain.
- Step 2: Using ForgeRegistry’s addGeneration method to add new biome variations.
- Step 3: Register a biome’s dimension category, including flat or nether.
- Step 4: Define biome generation for surface, vegetation, and temperature.
5. Creating a Custom GUI
- Step 1: Implement 1.14 Forge GUI style using the ISupplier inferface.
- Step 2: Implement IForgeRegistry to instantiate GUI in Minecraft forge.
- Step 3: Obtain GUI dimensions (width & height) in calculateGuiSize.
- Step 4: Initialize GUI with Mod Screen name, global position, custom GUI width & height.
- Step 5: Position GUI location on screen inside drawGuiContainerBackgroundLayer.
- Step 6: Define GUI behavior, component positions, and text.
Conclusion
In this guide, we have covered the basics of Minecraft modding. By following the steps in this guide, you can create your own custom mods and share them with the world.
Omg, i didn’t know i could make my own mod for minecraft, this is awesome!
This is so dumb, making a mod for minecraft is way too hard and complicated
This tutorial is missing a lot of important steps, it’s not complete.
I don’t agree with the author’s choice of using Forge, Fabric is a much better modding API.
Lol, who would ever want to make their own minecraft mod? That’s just a waste of time.
Oh yeah, making your own mod is easy, just follow these simple steps: 1. Download Forge 2. Create a new mod project 3. Write some code 4. Compile your mod 5. Profit!
I once made a mod that turned all the creepers into giant bunnies. It was hilarious!
Can you use this method to make mods for older versions of minecraft?
I’m not sure if I’m doing something wrong, but I can’t seem to get my mod to work.
This tutorial is great! I’ve always wanted to make my own mod, but I never knew where to start.
I’m having trouble with the code, can someone help me?
This is such a cool idea! I can’t wait to try it out.
I’m not a modder, but this article was still really interesting to read.
I’ve been modding minecraft for years, and I can tell you that this tutorial is spot on.
I’m going to make a mod that adds a new dimension to the game. Wish me luck!