Installing Apache on Ubuntu
-
Update the package index:

sudo apt update -
Install Apache:

sudo apt install apache2 -
Start Apache:
sudo systemctl start apache2 -
Check if Apache is running:
sudo systemctl status apache2
Configuring Apache
-
Open the Apache configuration file:
sudo nano /etc/apache2/apache2.conf -
Search for the line
DocumentRoot /var/www/html. This is the directory Apache will serve files from. -
To change the document root, replace the
/var/www/htmlpath with the desired location. For example, to serve files from/var/www/mysite, change the line to:DocumentRoot /var/www/mysite -
Save the file and exit (Ctrl+X, Y, then Enter).
-
Restart Apache to apply the changes:
sudo systemctl restart apache2
Testing Apache
-
Create a test file in the document root directory. For example:
sudo nano /var/www/html/test.html -
Add some HTML code to the file, such as:
<h1>Hello, world!</h1> -
Save the file and exit (Ctrl+X, Y, then Enter).
-
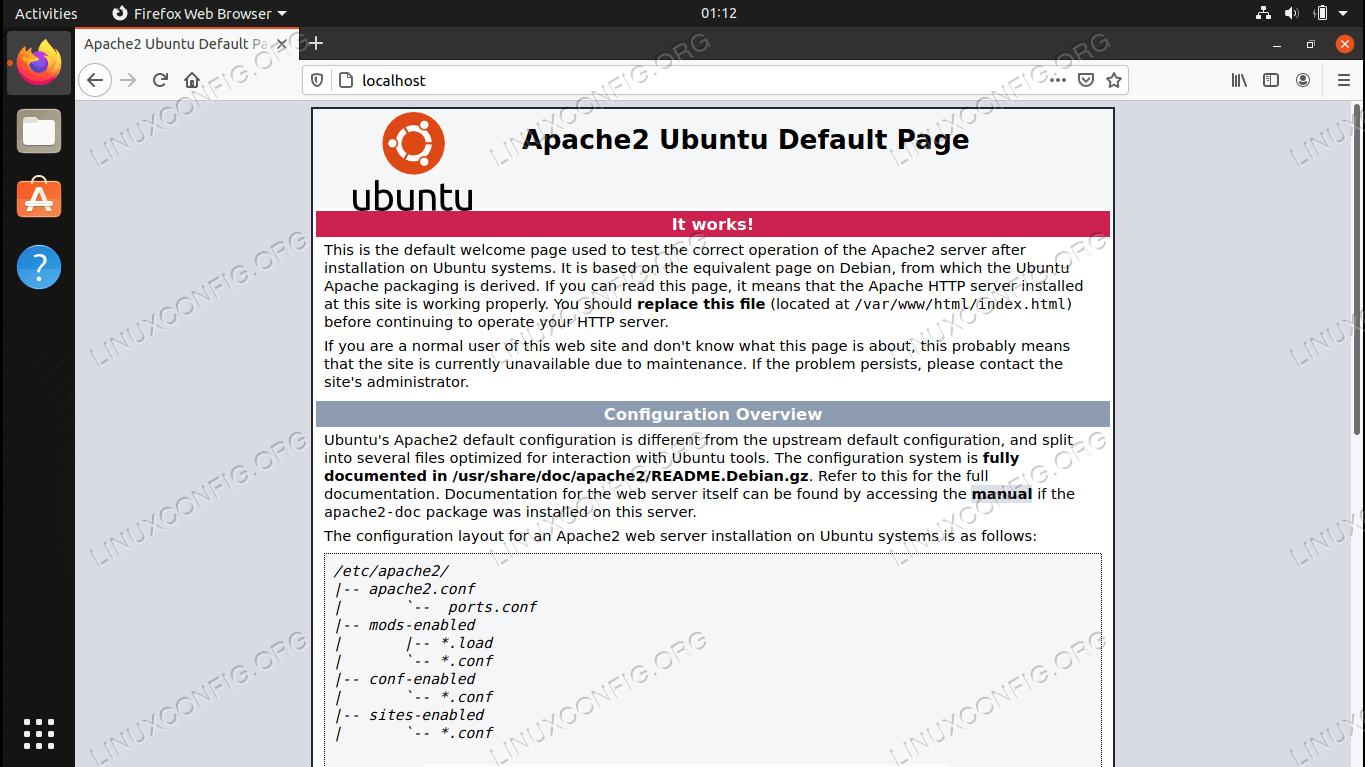
Visit the test file in a web browser:
http://localhost/test.html
You should see the “Hello, world!” message in your browser.
Additional Notes:
- Apache is a powerful web server with numerous configuration options. Refer to the Apache documentation for more information.
- It is recommended to use a reverse proxy, such as Nginx, in front of Apache for improved performance and security.
- Always keep Apache updated and secure by applying the latest security patches.## Installing And Configuring Apache On Ubuntu: A Beginner’s Guide
Executive Summary
This comprehensive guide provides a step-by-step walkthrough of installing and configuring Apache, a widely-used web server, on an Ubuntu operating system. Covering essential aspects from initial installation to configuring virtual hosts and managing certificates, this article empowers beginners with the knowledge to set up and administer an Apache web server on Ubuntu.
Introduction
The Apache HTTP Server, commonly known as Apache, is a free and open-source web server software renowned for its reliability, performance, and flexibility. This guide is meticulously designed for beginners, offering a clear and sequential approach to installing and configuring Apache on an Ubuntu Linux distribution. By following the detailed instructions provided within, you will gain the necessary skills to set up and manage your own Apache-powered web server.
Prerequisites
Before embarking on the installation process, ensure that you have the following prerequisites in place:
- An Ubuntu operating system (version 20.04 or later is recommended)
- A non-root user with administrative privileges
- A command-line terminal
- Basic knowledge of Linux commands
Installing Apache
-
Update the System:
- Run
sudo apt updateto refresh the software repositories.
- Run
-
Install Apache:
- Execute
sudo apt install apache2to install Apache.
- Execute
-
Start the Apache Service:
- Use
sudo systemctl start apache2to launch the Apache service.
- Use
-
Check the Apache Status:
- Verify that Apache is running by issuing
sudo systemctl status apache2.
- Verify that Apache is running by issuing
Configuring Apache
Virtual Hosts
Virtual hosts allow multiple websites to be hosted on a single server with unique IP addresses and port numbers.
- Create a Virtual Host File:
- Create a virtual host file with the command
sudo nano /etc/apache2/sites-available/yourdomain.conf.
- Create a virtual host file with the command
- Configure Virtual Host:
- Set up the virtual host by specifying the server name, document root, and other relevant directives.
- Enable Virtual Host:
- Enable the virtual host by creating a symbolic link to the virtual host file in the /etc/apache2/sites-enabled/ directory.
SSL Certificates
SSL certificates encrypt data transmitted between the web server and clients, ensuring secure communication.
- Configure OpenSSL:
- Install OpenSSL (the server-side implementation for HTTPS) using
sudo apt install openssl.
- Install OpenSSL (the server-side implementation for HTTPS) using
- Generate a Private Key:
- Run
sudo openssl genrsa -out domain.key 2024to create a private key (replace ‘domain.key’ with your actual domain name).
- Run
- Generate a Certificate Signing Request (CSR):
- Use the command
sudo openssl req -new -key domain.key -out domain.csrto generate a CSR.
- Use the command
Adding Modules
Apache modules extend the functionality of the web server by providing additional features and capabilities.
- Disable Default Modules:
- Disable unnecessary default modules by executing
sudo a2dismod module-name. (Replace ‘module-name’ with the specific module to disable).
- Disable unnecessary default modules by executing
- Install Required Modules:
- Install new modules using
sudo a2enmod module-name. (Replace ‘module-name’ with the module to install).
- Install new modules using
- Restart Apache:
- Restart Apache to activate the changes made to modules with
sudo systemctl restart apache2.
- Restart Apache to activate the changes made to modules with
Log Management
Log files provide valuable information for troubleshooting and security purposes.
- Configure Log File Format:
- Set the desired format and location for Apache logs by modifying the /etc/apache2/apache2.conf file.
- Enable Error Log:
- Specify the error log file and level of error logging to be recorded.
- Set Log Rotation:
- Configure log rotation to automatically remove old logs and compress active ones to save disk space.
Conclusion
By completing all the steps outlined in this guide, you will have successfully installed and configured an Apache web server on your Ubuntu system. This essential foundation empowers you to host websites, manage virtual hosts, secure connections with SSL certificates, and effectively manage logs. Remember to always stay updated on the latest Apache and Ubuntu versions and security measures to maintain a stable and secure web server environment.
This is awesome! I’m going to try this out.
This is terrible! Don’t waste your time.
This is a very informative guide. I learned a lot.
This is a very well-written guide. However, I don’t agree with everything that is said.
This is a very interesting guide. I’m not sure if I understand everything, but I’m going to give it a try.
This is a very well-written guide. I’m going to try this out.
This is a very funny guide. I’m going to try this out.