- Gather Your Materials:
- Minecraft: Ensure you have Minecraft installed on your computer.
- Skin Editor: Choose a suitable skin editor software like Skinseed, Skindex, or MCSkins.
- Reference Images: Find images of characters, animals, or objects you want to use as inspiration.
- Color Palette: Select a color palette that complements your design.
- Choose a Base Skin:
- Select a default Minecraft skin or a pre-made base skin from the internet.
- PNG File: Save the base skin as a PNG file with transparent background.
- Design Your Skin:
- Sketching: Start by sketching your design on paper or digitally using a drawing app.
- Color Blocking: Begin with color blocking to establish the main colors and shapes.
- Details: Gradually add details like facial features, clothing, and accessories.
- Mirror Symmetry: Maintain mirror symmetry to ensure the skin looks balanced from both sides.
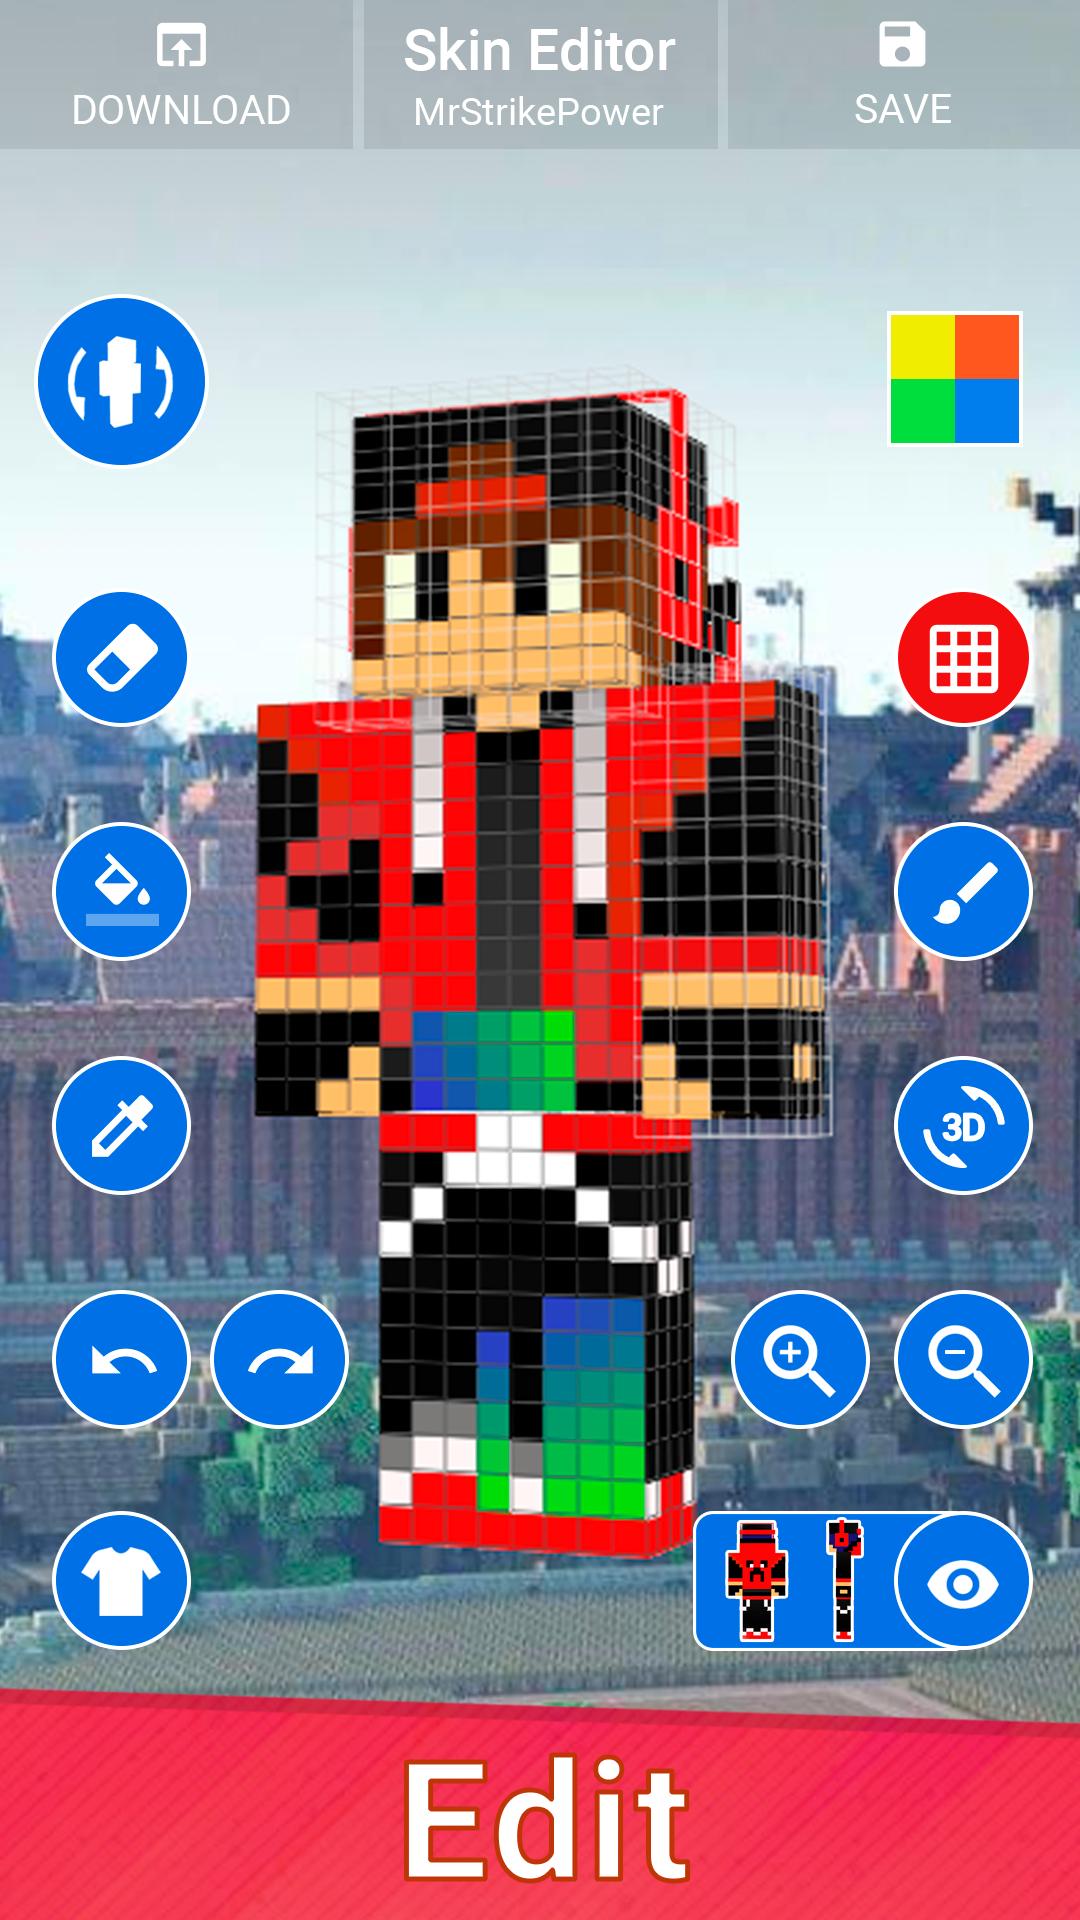
- Use Skin Editor Software:
- Import: Import the PNG file of your base skin into the skin editor software.
- Edit Tools: Use various editing tools to draw, erase, and color your skin.
- Layers: Utilize layer functionality to organize different elements of your skin.
- Preview: Regularly preview your skin in 3D mode to see how it appears in-game.
- Finalize Your Skin:
- Clean Up: Refine the edges and lines for a polished look.
- Add Shading: Incorporate shading and highlights to enhance the visual depth of your skin.
- Finalize Details: Double-check all details, ensuring everything is in place.
- Save and Upload Your Skin:
- File Format: Save your skin as a PNG file with transparent background.
- File Name: Choose a descriptive name for your skin file.
- Upload: Transfer the PNG file to your Minecraft account’s skin upload page.
- Select Skin: After uploading, select your new skin within the Minecraft game.
- Test Your Skin in-Game:
- Load Minecraft: Launch Minecraft and select the skin you created.
- Single-Player or Multiplayer: You can test your skin in single-player or multiplayer mode.
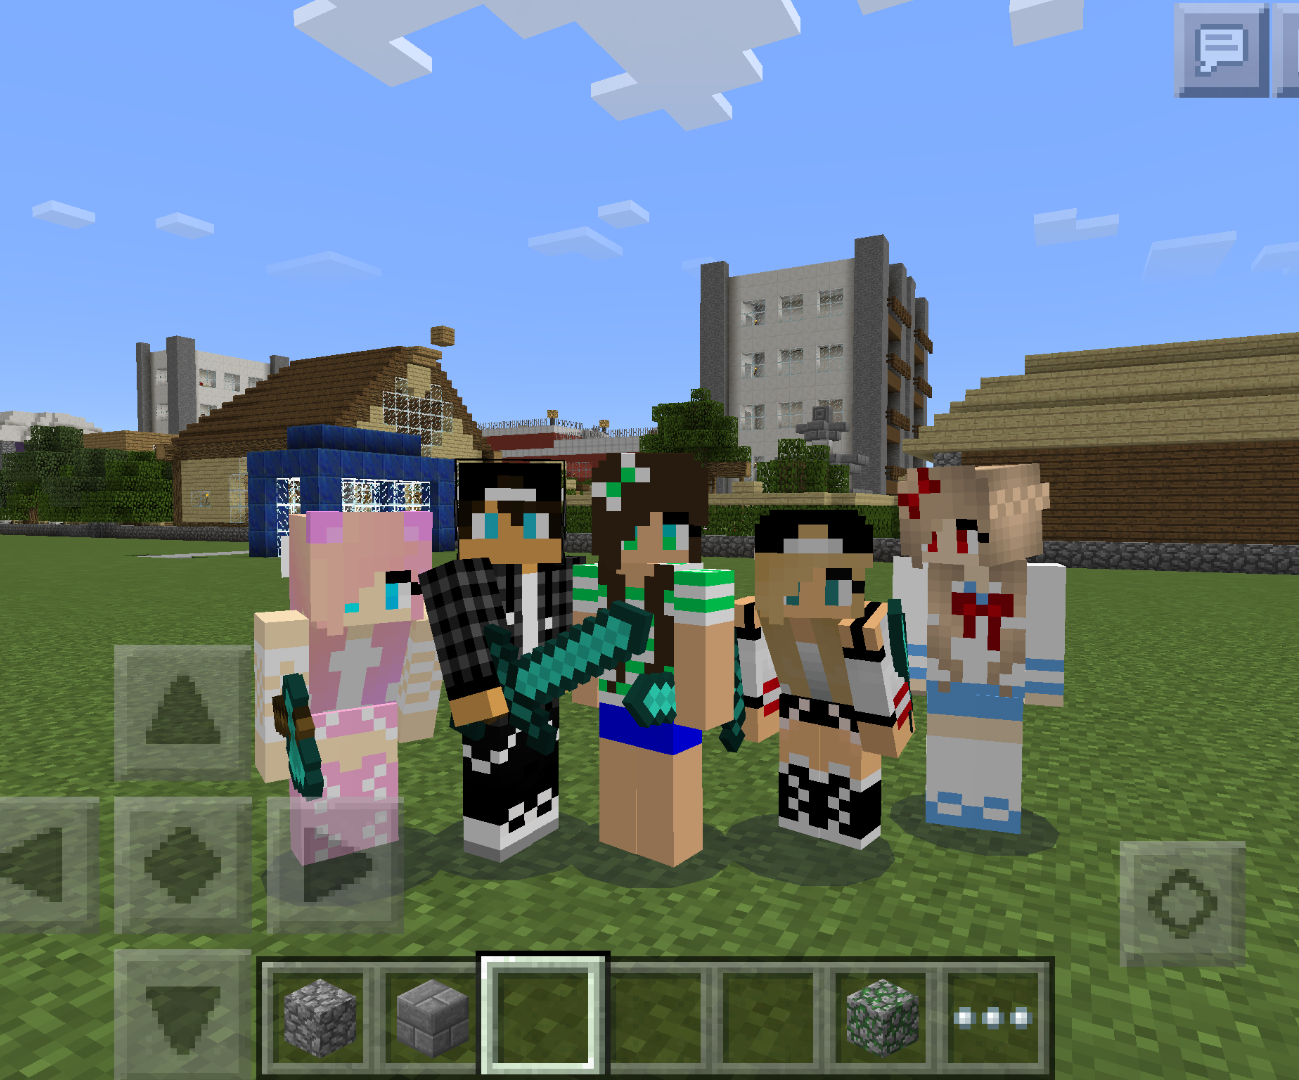
- Enjoy Your Custom Skin: Admire your unique creation as you play Minecraft and show it off to your friends.# Creating Your Own Minecraft Skins: A Beginner’s Guide
Executive Summary
For players who want to add a unique touch to their gaming experience, creating and customizing Minecraft skins has become a beloved pastime. Although the process may look intimidating, anyone with sufficient directions and willingness can embark on this artistic journey. This comprehensive guide is designed to provide the necessary steps and insights to help you create your own Minecraft skin.
Introduction
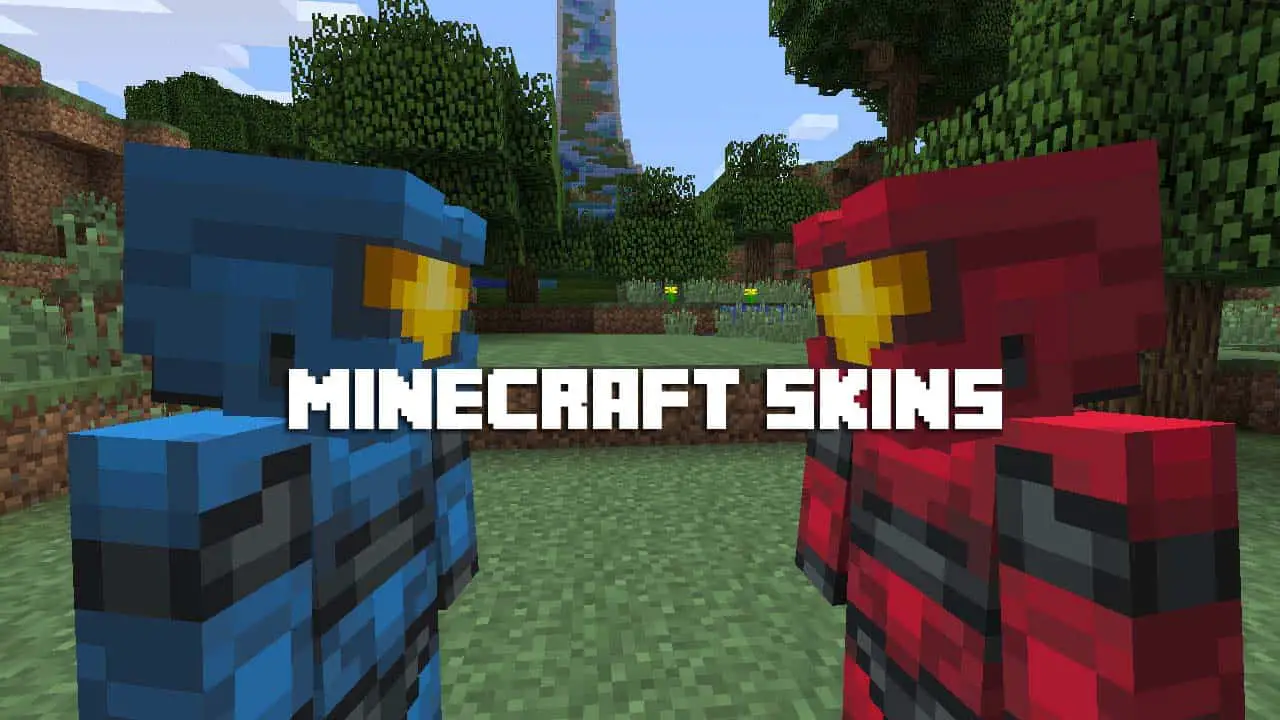
Immerse yourself in the world of Minecraft like never before by creating your very own skin. With endless design options and a variety of tools at your disposal, you can express your creativity and personalize your character to stand out from the realm of ordinary avatars.
Choosing the Right Tool
1. MineCraft Skin Editor
- Free web-based editor for quick and uncomplicated skin creation.
- User-friendly interface with adjustable layers and detailed color palettes.
- Variety of pre-made templates and customizable options for a quick start.
2. Novaskin
- Advanced online skin editor with rich features and vast customization options.
- High-quality 3D modeling with visual customization possibility from multiple viewing angles.
- Seamless export and integration options for multiple game platforms.
3. Skindex Editor
- Powerful desktop-based skin editor for precise control and expanded capabilities.
- Wide range of brushes and tools for free hand drawing and detailed designs.
- Support for importing and merging existing skins for remixing and modification.
Designing Your Skin
1. Choose Base Design
- Utilize MineCraft Skin Editor’s pre-made templates for easy design selection.
- Browse online skin galleries for inspiration and ideas.
- Start from a blank canvas to create something truly unique and personalized.
2. Color Palette
- Choose colors that complement each other and fit your desired theme.
- Utilize tools like the color wheel to create harmonious and aesthetically pleasing designs.
- Experiment with various shades and hues to add depth and visual interest.
3. Add Details
- Use appropriate-sized brushes for precise additions and fine details.
- Incorporate shading and highlights for dimension and a realistic feel.
- Experiment with layering to create intricate designs and patterns.
4. Apply Texture
- Add texture to clothes, hair, and accessories for added realism and visual complexity.
- Utilize linear or radial gradients to create seamless transitions and color blends.
- Experiment with different brush strokes to achieve various textured effects.
5. Final Touches
- Add items, accessories, or equipment to enhance the individuality of your character.
- Consider applying a background or environment for a dynamic and immersive visual style.
- Be creative and let your imagination run wild.
Conclusion
Whether you prefer the online accessibility of MineCraft Skin Editor, the advanced editing capabilities of Novaskin, or the detailed flexibility of Skindex Editor, there’s a skin editor perfect for each skill level. The most important part of creating a Minecraft skin is experimenting and having fun in the process. Embrace the endless design possibilities and create a skin you’ll love to represent your unique style in the world of Minecraft.
Keyword Phrase Tags
- Minecraft Skin Maker
- Create Your Own Minecraft Skin
- Minecraft Skin Editor
- Custom Minecraft Skin
- Minecraft Skin Design
======== Creating Your Own Minecraft Skins: A Beginner’s Guide
Minecraft skins are a great way to personalize your character and make it stand out from the crowd. With just a few simple steps, you can create your own custom skin that reflects your personality and style.
This is a great guide for beginners who want to create their own Minecraft skins. The step-by-step instructions are easy to follow, and the tips and tricks are really helpful.
I’ve been playing Minecraft for years, and I’ve never been able to create my own skin. This guide made it so easy! I’m so excited to show off my new skin to my friends.
This guide is terrible! The instructions are confusing, and the tips are useless. I couldn’t even create a basic skin with this guide.
I’m not sure why this guide is getting such good reviews. I found it to be very unhelpful. The instructions are vague, and the tips are not specific enough.
This guide is missing a lot of important information. It doesn’t explain how to save your skin, or how to upload it to Minecraft. I had to find this information on my own.
I think this guide could be improved by adding more examples. It would be helpful to see some different types of skins, and how they were created.
Wow, this guide is amazing! It’s so easy to create your own skin with this guide. I’m sure I’ll be able to create the most amazing skin ever.
This guide is so helpful! I can’t wait to create my own skin and make it the ugliest skin ever!
I’m going to create a skin of myself, but with a giant nose and a funny hat. It’s going to be the most ridiculous skin ever!
This guide is not very good. It doesn’t explain how to create a skin from scratch. It only explains how to edit an existing skin.
I have a question about this guide. How do I create a skin for a specific character, such as Steve or Alex?
This guide is very helpful for beginners. I’m sure it will help me create my own custom skin.
I’m going to create a skin of my dog. It’s going to be the cutest skin ever!