Creating Your Own Minecraft Server: A Step-by-step Guide
Executive Summary

Creating your own Minecraft server can be a fun and rewarding experience. It allows you to customize your gameplay, invite friends to play, and have complete control over your world. This guide will provide you with a step-by-step process on how to create your own Minecraft server, from choosing the right hardware to configuring the server software.
Introduction
Minecraft is a popular sandbox video game that allows players to build and explore a procedurally generated world. Players can create their own worlds, join other players’ worlds, or play on public servers. Creating your own Minecraft server gives you the freedom to customize your gameplay experience and invite friends to play with you.
Choosing the Right Hardware
The first step to creating a Minecraft server is choosing the right hardware. The hardware you need will depend on the number of players you want to support and the type of gameplay you want to have. If you are only planning on playing with a few friends, you can get away with using a low-end computer. However, if you are planning on hosting a public server with a large number of players, you will need a more powerful computer.
Here are the minimum hardware requirements for a Minecraft server:
- CPU: 2 GHz
- RAM: 1 GB
- Storage: 2 GB
- Network: 100 Mbps
Configuring the Server Software
Once you have chosen the right hardware, you need to configure the server software. There are two main server software options for Minecraft: Bukkit and Spigot. Bukkit is a popular server software that allows you to add plugins to your server. Spigot is a fork of Bukkit that is optimized for performance.
To configure the server software, you will need to download the software from the official website. Once you have downloaded the software, you will need to extract the files to a folder on your computer.
Opening Ports
Once you have configured the server software, you need to open ports on your router. This will allow players to connect to your server. The ports that you need to open will depend on the server software that you are using.
To open ports on your router, you will need to log in to your router’s web interface. Once you are logged in, you will need to find the port forwarding section. The port forwarding section will allow you to specify which ports you want to open and which computer on your network you want to forward the ports to.
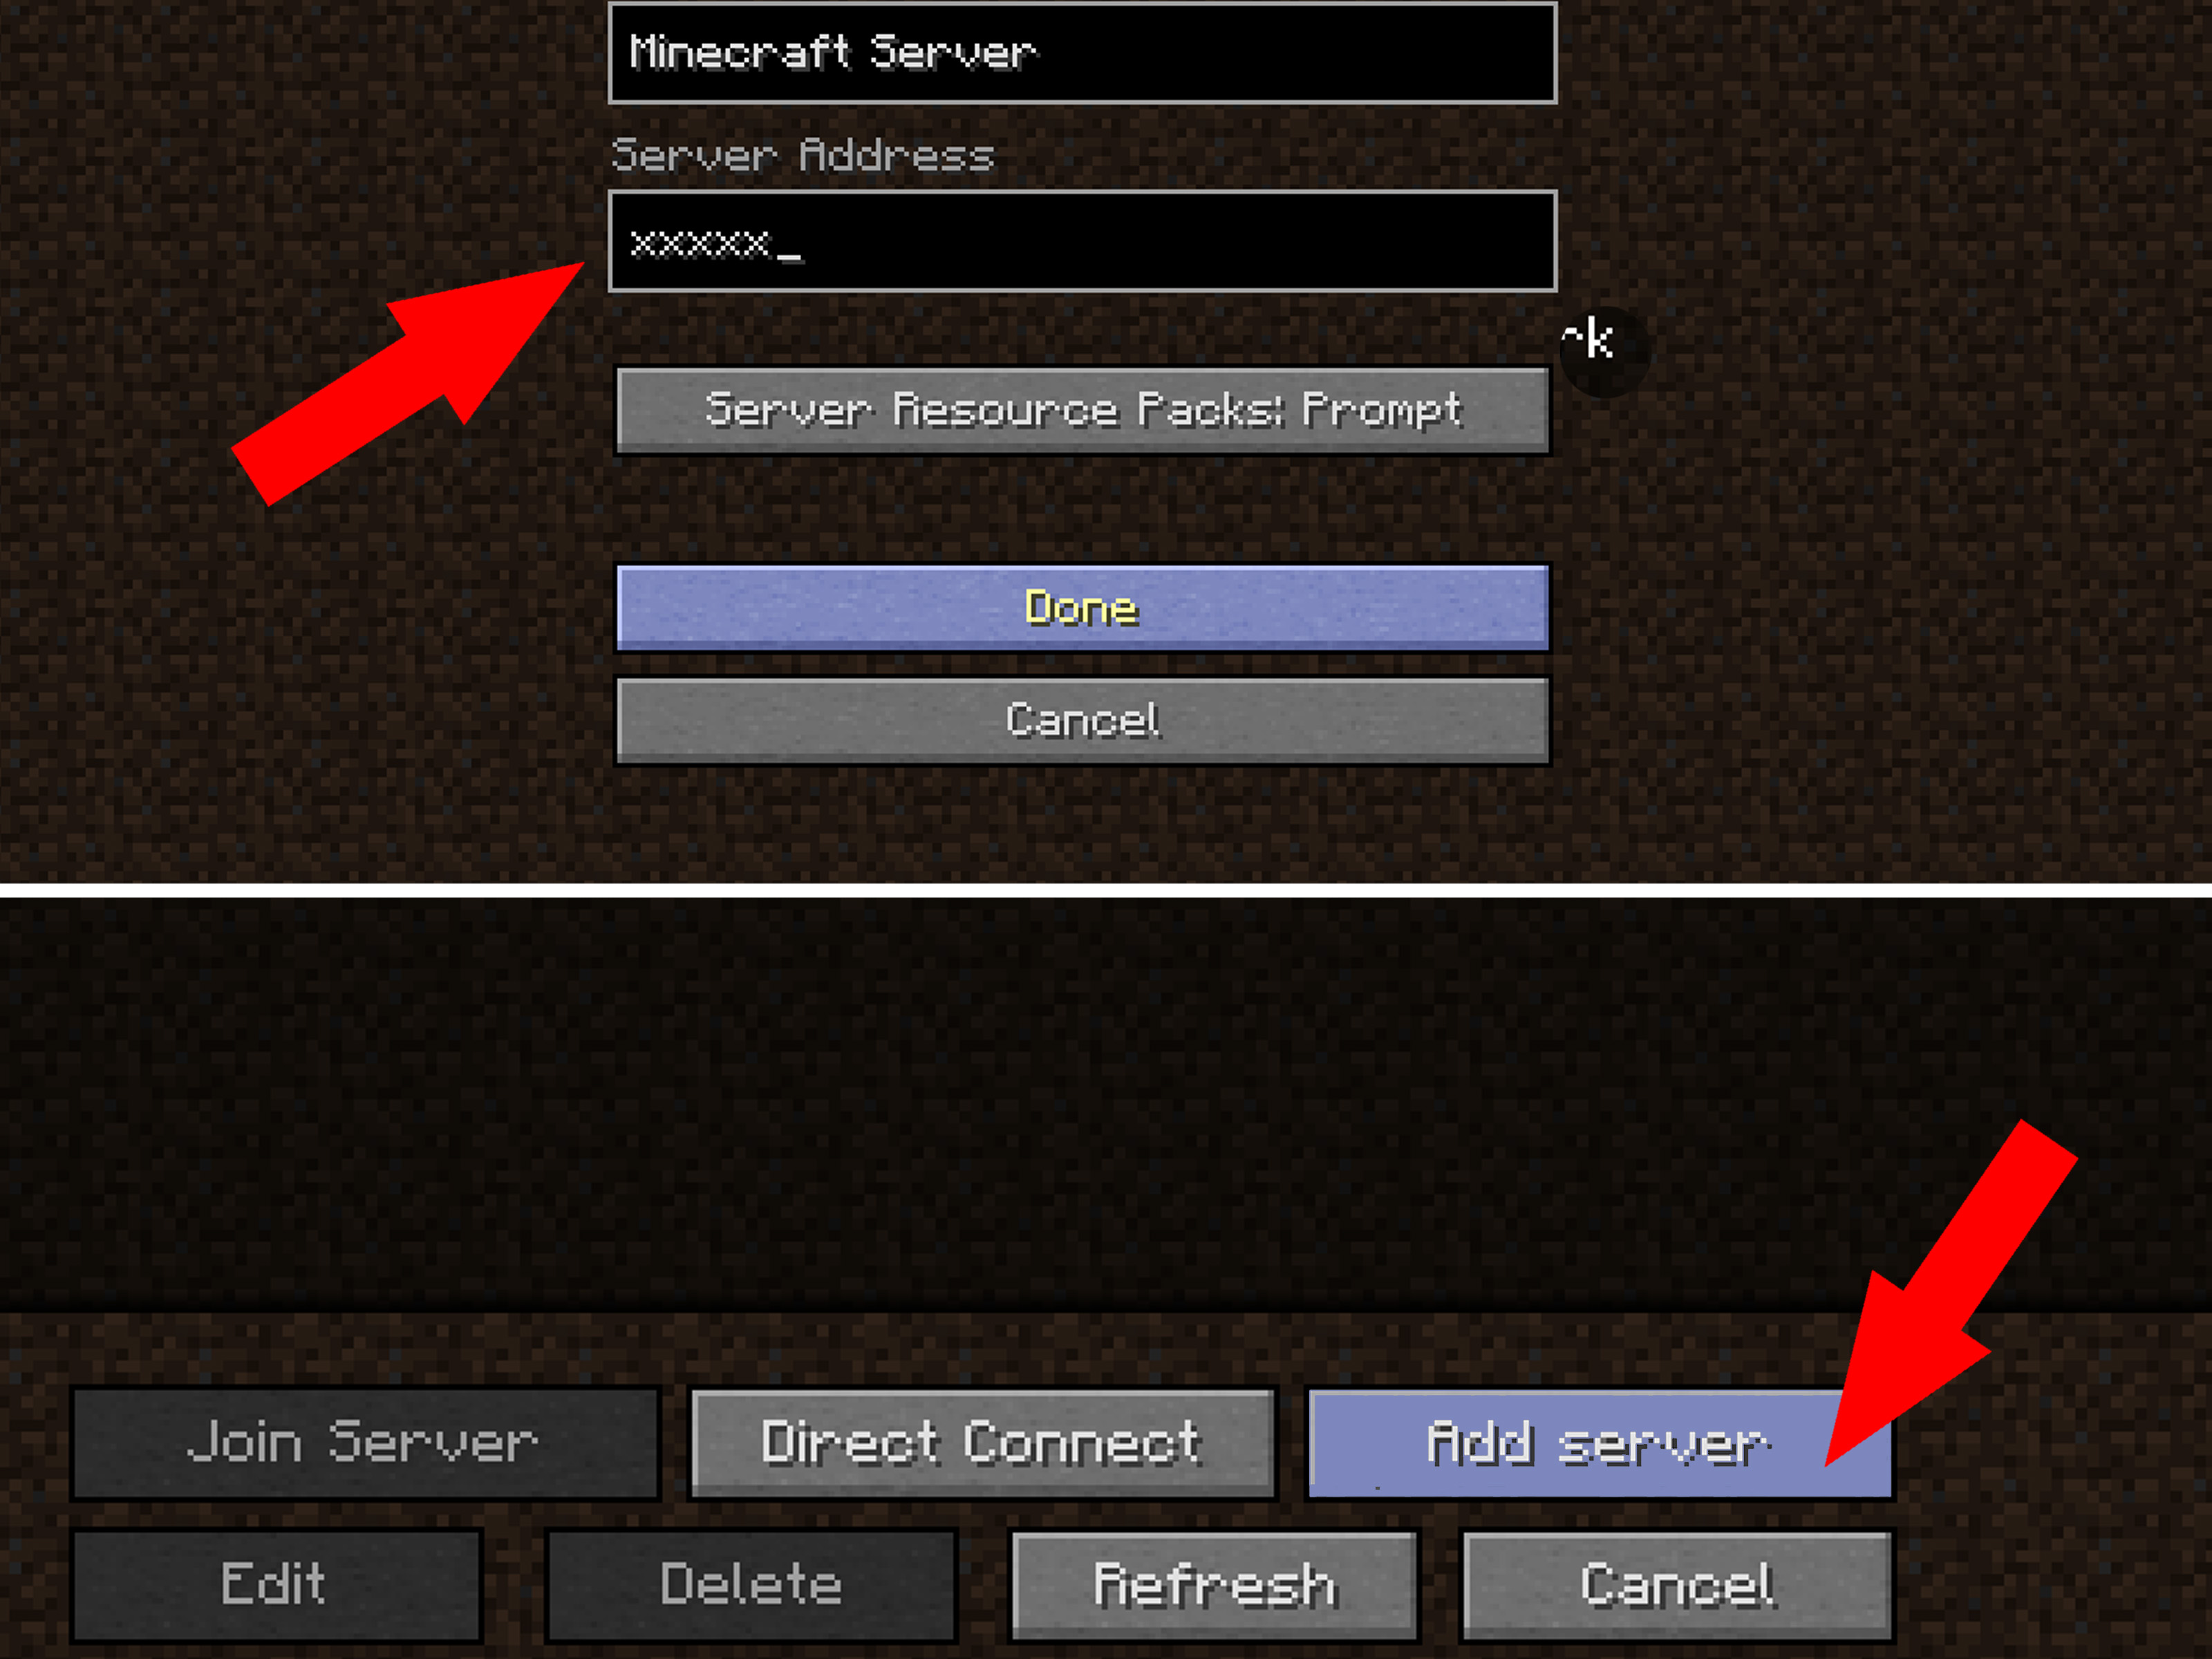
Connecting to the Server
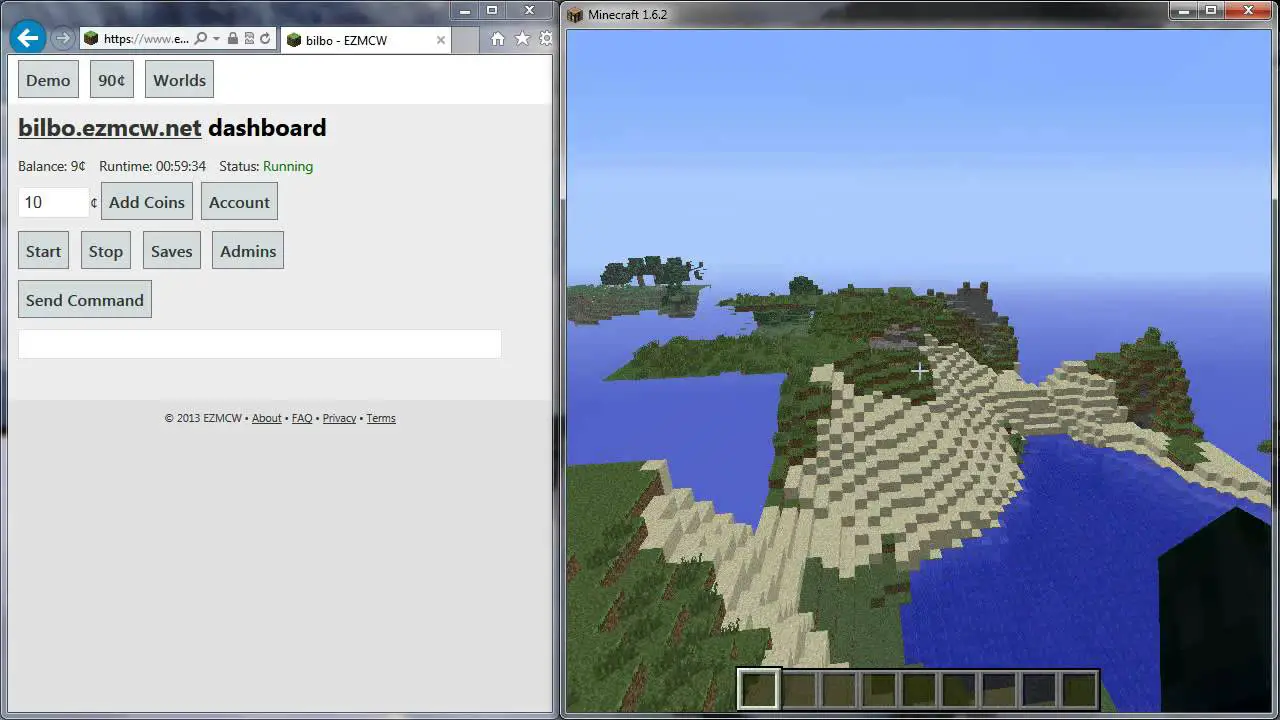
Once you have opened the ports on your router, you can now connect to your server. To connect to your server, you will need to use a Minecraft client. The Minecraft client is available for download from the official Minecraft website.
Once you have downloaded the Minecraft client, you can launch it and click on the “Multiplayer” button. In the “Multiplayer” menu, you will need to enter the IP address of your server. The IP address of your server will be displayed in the server console window.
Conclusion
Creating your own Minecraft server can be a fun and rewarding experience. It allows you to customize your gameplay experience, invite friends to play, and have complete control over your world. By following the steps in this guide, you can create your own Minecraft server in no time.
Keyword Phrase Tags
- Minecraft server
- How to create a Minecraft server
- Minecraft server hosting
- Bukkit
- Spigot
Thank you for this step-by-step guide! I’m excited to try creating my own Minecraft server.
This guide is so complicated! I’m never going to be able to figure out how to create my own server. Sigh.
Here’s a tip: make sure to open the appropriate ports on your router before you start setting up your server. Otherwise, people won’t be able to connect to it.
I disagree with the author’s recommendation to use aternos.org for hosting your server. I’ve had a lot of problems with their service in the past.
Creating your own Minecraft server is like trying to build a house of cards in a hurricane. It’s a lot of work, and it’s probably going to collapse at some point.
Oh, wow, a step-by-step guide to creating your own Minecraft server. How original. I’m sure no one has ever thought of that before.
I bet the author of this guide has never actually created a Minecraft server before. It’s like they’re just making it up as they go along.
I’m so excited to try this guide! I’ve always wanted to create my own Minecraft server, but I never knew how.
I’m not sure if this guide is going to work. I’ve tried to create my own Minecraft server before, and it was a nightmare.
The author of this guide forgot to mention that you need to have a strong understanding of networking in order to create a Minecraft server. This is not a task for beginners.
I think the author of this guide is biased towards using Linux. I prefer to use Windows, and I think it’s a better option for creating a Minecraft server.
Creating your own Minecraft server is like trying to build a rocket ship out of toothpicks. It’s possible, but it’s not going to be easy.
I bet the author of this guide has never even played Minecraft before. They probably just googled ‘how to create a Minecraft server’ and copied the first results.
I’m curious to try this guide, but I’m not sure if my computer is powerful enough to run a Minecraft server.