Crafting Your First Minecraft Mod: A Step-by-step Tutorial
Embarking on the journey of creating your first Minecraft mod can be an exciting and rewarding experience. By customizing the game with unique elements and features, you can add your personal touch to the vast Minecraft world. This step-by-step tutorial will guide you through the fundamentals of mod development, allowing you to create and implement your own mods.
Step 1: Set Up Your Development Environment
Begin by setting up the necessary tools for mod development. This includes installing Java, the Eclipse IDE with the Minecraft Forge plugin, and the Minecraft Forge API. Follow the official documentation provided by Forge to ensure a seamless setup process.
Step 2: Creating Your Mod Project
Launch Eclipse and create a new Java project for your mod. Right-click on the project folder and select “Build Path > Configure Build Path…”. Add the Minecraft Forge API and Minecraft libraries as external jars.
Step 3: Establishing the Mod Class
Create a new package within your project and inside it, create a Java class named the same as your mod’s main class. This is where the core functionality of your mod will reside.
Step 4: Registering Your Mod
Within the main class, create a method annotated with @Mod, which serves as the main entry point for your mod. Here, you should assign values to mod-related properties like name, version, and description.
Step 5: Implementing Features and Functionality
The actual customization of your mod takes place in the methods provided by Minecraft Forge. For example, if you want to add a new item to the game, you can utilize the @EventHandler annotation in conjunction with Forge’s Item-related events.
Step 6: Compiling Your Mod
To compile your mod, right-click on the project and select “Export > Runnable JAR file”. Choose the appropriate settings and export the JAR file.
Step 7: Installing and Testing Your Mod
Copy the exported JAR file to the “mods” folder within your Minecraft installation directory. Launch Minecraft and select the “Forge” profile. Your mod should now be loaded and ready for testing.
Step 8: Troubleshooting and Refinement# Crafting Your First Minecraft Mod: A Step-by-Step Tutorial
Executive Summary
This comprehensive guide leads you through the process of crafting your first Minecraft mod, taking you from beginner to competent mod maker. With detailed steps, it covers all the necessary aspects, from setting up the development environment to debugging and testing your mod. Unleash your creativity and bring unique elements to the world of Minecraft.
Introduction
Minecraft, a game beloved by millions, offers boundless opportunities for creativity and customization. The ability to craft your own mods enhances this experience, unlocking the power to modify the game’s features and introduce new mechanics, blocks, and items. In this tutorial, we’ll delve into the intricacies of mod creation, empowering you to bring your imagination to life within the Minecraft universe.
Setting Up the Development Environment
-
Obtain Necessary Software:
- Java Development Kit (JDK)
- Minecraft Forge or Fabric API
- Any preferred code editor or Integrated Development Environment (IDE)
-
Install and Configure Software:
- Follow installation instructions for JDK, Forge, or Fabric API
- Choose a directory for saving your mod project
- Set up your code editor/IDE and link it to the project directory
-
Create a New Minecraft Mod Project:
- Open your preferred IDE/code editor
- Select the option to create a new Forge or Fabric mod project
- Enter necessary project details and specify the target Minecraft version
Designing and Creating Your Mod
-
Brainstorming and Conceptualizing:
- Think about the purpose and features of your mod
- Define the mod’s main objectives and unique aspects
-
Coding the Mod:
- Utilize Java programming language with Forge or Fabric APIs
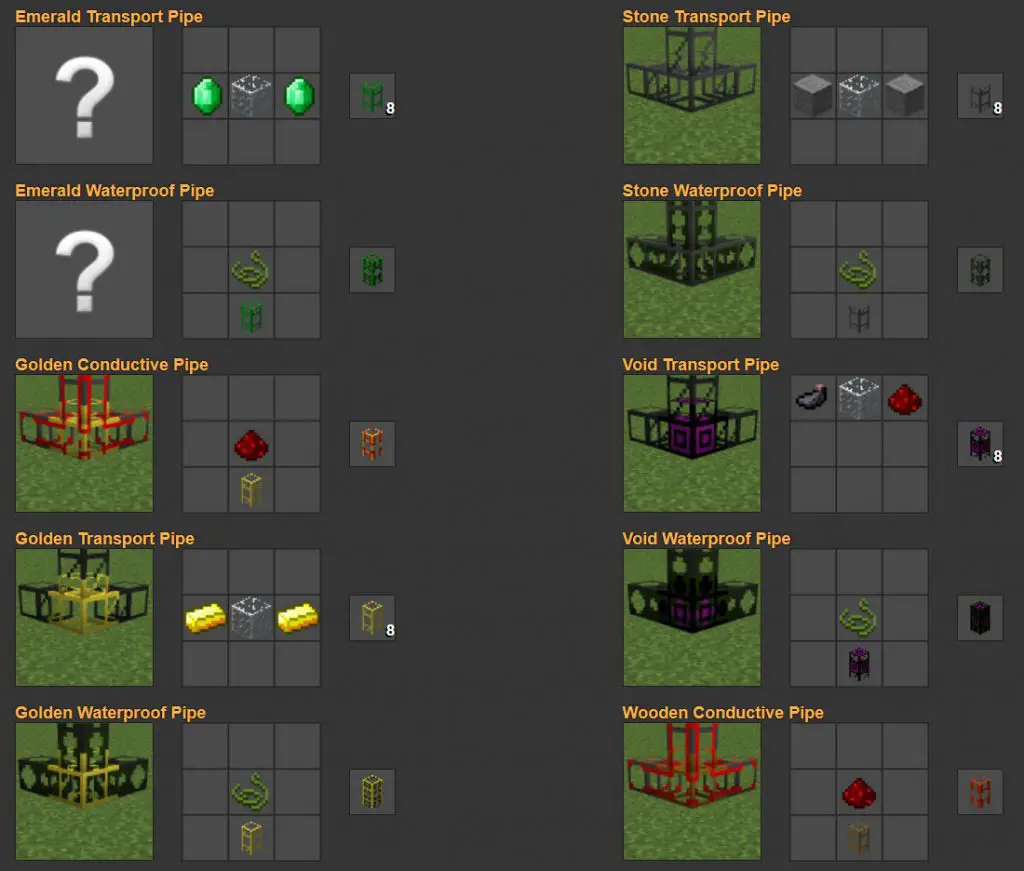
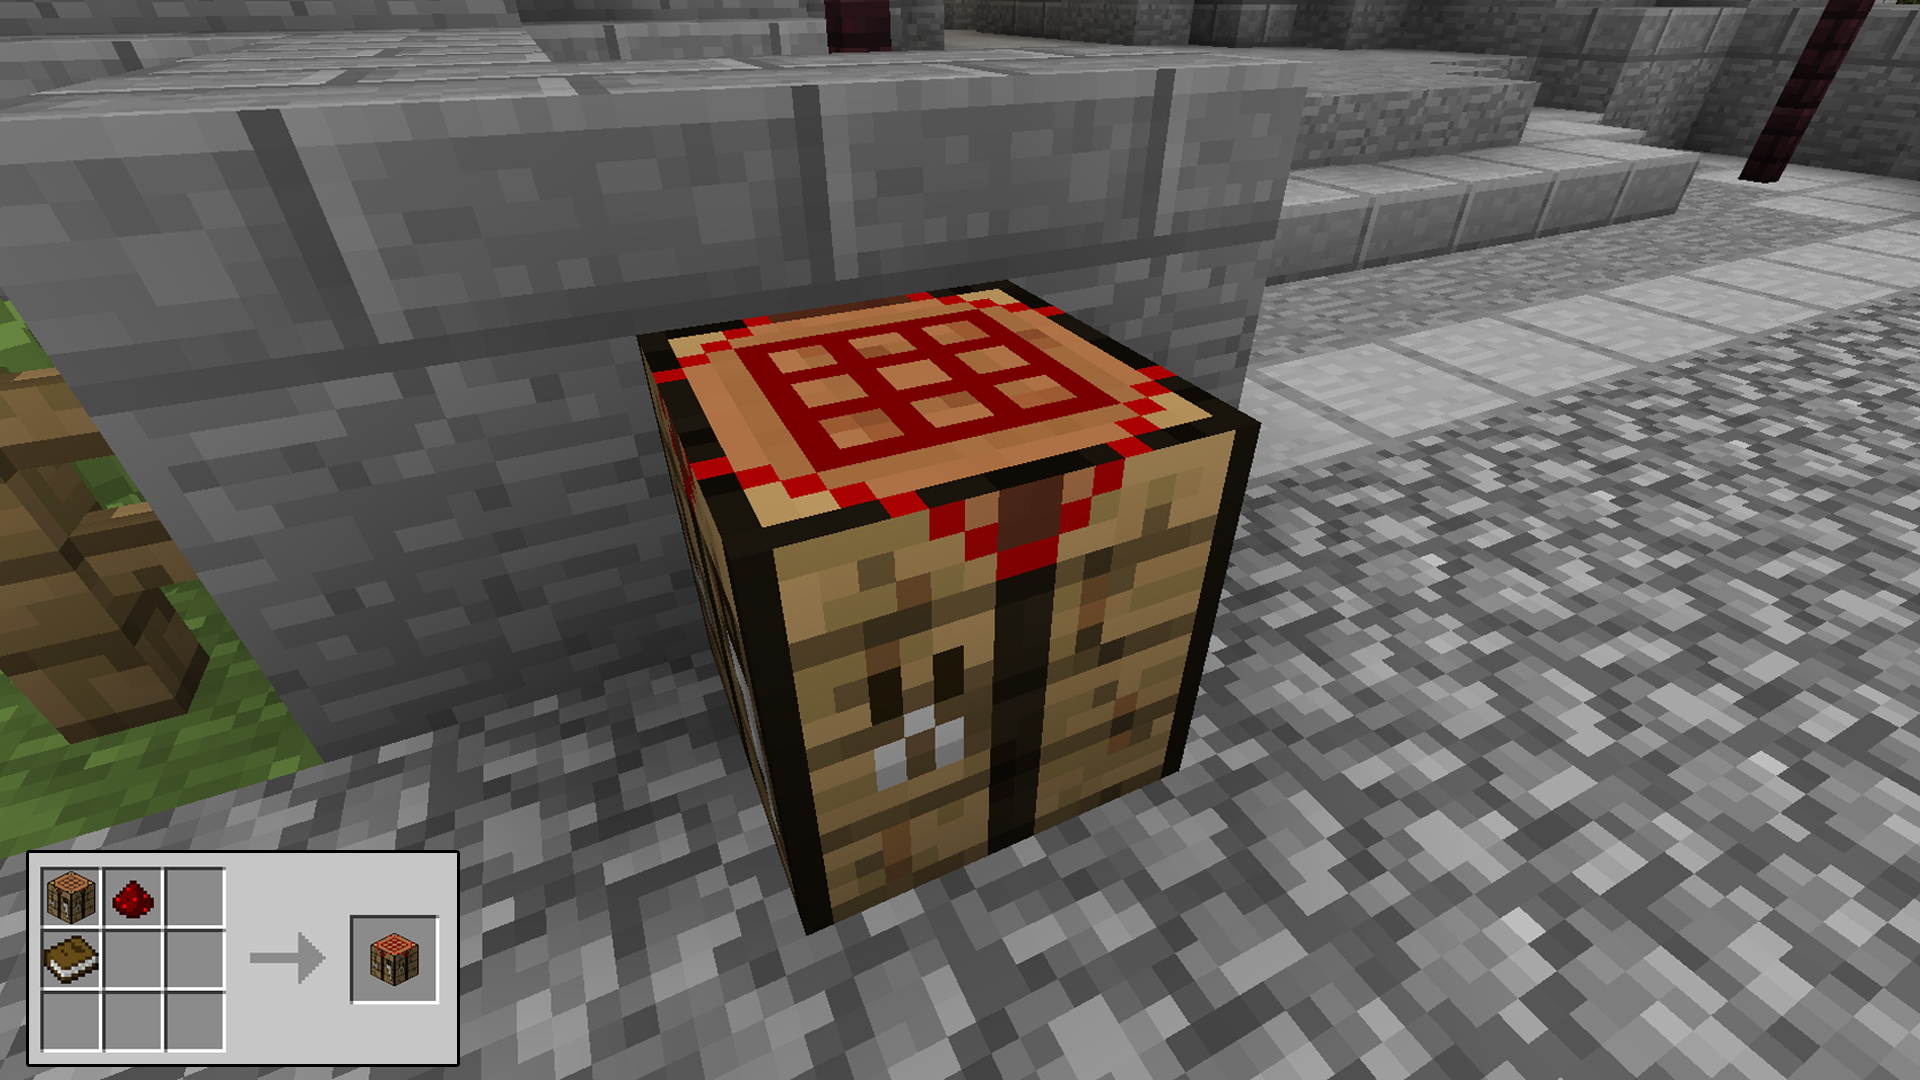
- Start with simple modifications such as adding new blocks or items
- Create Java classes for custom blocks, items, entities, or dimensions
-
Adding Textures and Models:
- Design 2D textures for blocks, items, and entities using image editing software
- Create 3D models for custom entities or items using modeling software
-
Registering Elements in Minecraft:
- Use dedicated methods in Forge or Fabric APIs to register new blocks, items, entities, and dimensions with Minecraft
- Define custom properties and behaviors for each element
-
Testing and Debugging:
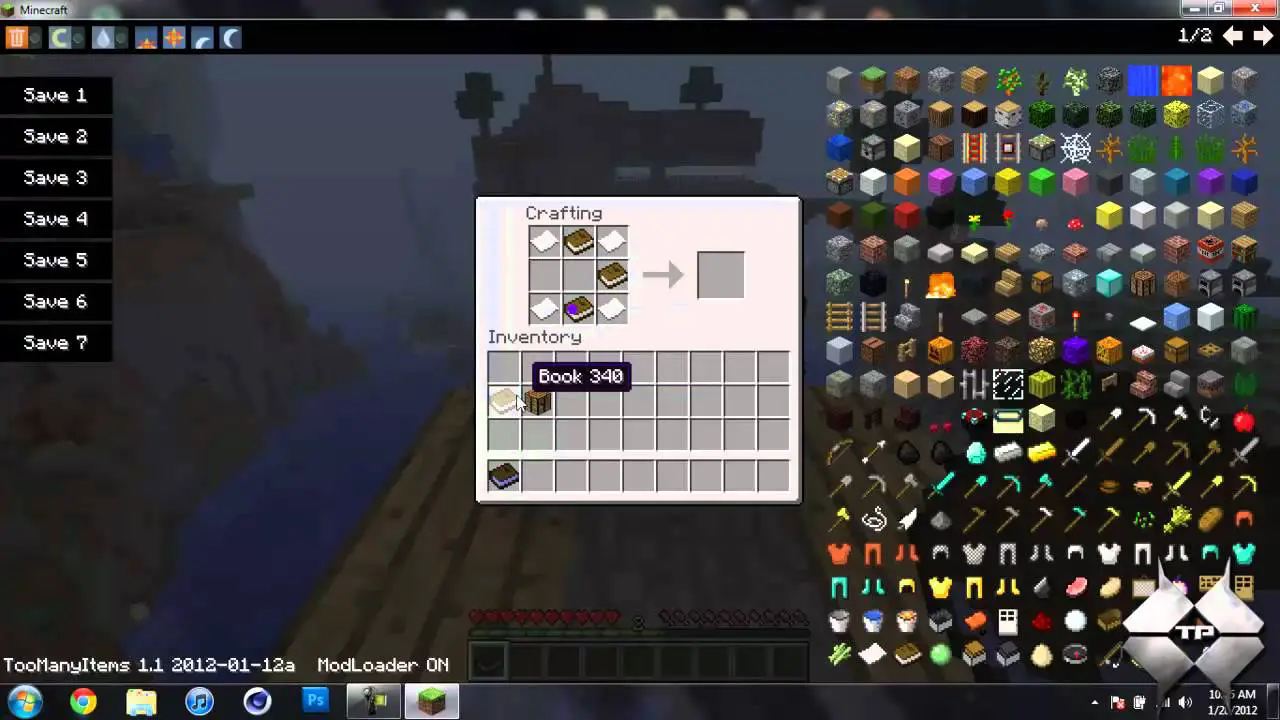
- Run your mod in the Minecraft launcher to test its functionality
- Use debugging tools provided by your IDE/code editor to identify and fix any issues
Publishing and Sharing Your Mod
-
Finalize Mod Development:
- Polish your mod by ensuring all features work flawlessly
- Write detailed documentation explaining how to install and use your mod
-
Distribute Your Mod:
- Package your mod into a downloadable file using Forge or Fabric API tools
- Share your mod on reputable Minecraft modding platforms or websites
-
Receive Feedback and Updates:
- Engage with the Minecraft modding community to gather feedback and suggestions
- Continuously update your mod based on feedback and to address any bugs
Conclusion
Crafting your first Minecraft mod is an exciting journey that empowers you to personalize and enhance your Minecraft experience. By following this comprehensive guide, you’ll gain the necessary knowledge and skills to turn your creative ideas into functional mods. Remember, modding is a learning process, and with practice and dedication, you can create mods that will impress and engage the Minecraft community. So, embrace the challenge, unleash your creativity, and embark on the thrilling adventure of Minecraft modding.
Keyword Phrase Tags
- Minecraft Modding
- Custom Blocks and Items
- Modifying Minecraft Gameplay
- Java Coding for Minecraft Mods
- Modding Tutorials
Nice and informative. This is the best tutorial for Minecraft modding I’ve seen. Thanks!
This was useless! I couldn’t even understand anything the writer was trying to say.
Good guide, but would be nice to have some examples of mod code.
Your guide is wrong! You should use MCreator instead of Forge. It’s much easier.
Wow, so you’re telling me that I need to know how to code to make a Minecraft mod? What a revelation!
Oh yeah, I’m sure this tutorial will help me create a mod that will make Minecraft run at 1000 FPS.
I tried following this tutorial and now my Minecraft is haunted by a flying pig.
Great guide! I especially liked the section on writing custom AI for entities.