Configuring Windows Hello for Secure Sign-Ins

Windows Hello is a biometric authentication feature introduced in Windows 10 that allows users to sign in to their devices using their face, fingerprint, or PIN. It is a more secure and convenient alternative to traditional password-based authentication methods, as it eliminates the need to remember and type in complex passwords.
To configure Windows Hello, follow these steps:
-
Open the Settings app by pressing the Windows key + I.
-
In the Settings app, navigate to Accounts > Sign-in options.
-
Under the “Windows Hello” section, click the Set up button.
-
Select the authentication method you want to use (face, fingerprint, or PIN) and follow the on-screen instructions to complete the setup process.
Once Windows Hello is configured, you can use it to sign in to your device by simply looking at the camera (for facial recognition) or placing your finger on the fingerprint sensor. You can also use your PIN to sign in if you prefer.
In addition to providing a more convenient and secure way to sign in to your device, Windows Hello can also be used to authenticate other tasks, such as unlocking apps and making purchases. This makes it a valuable tool for protecting your privacy and security.
Here are some additional tips for using Windows Hello:
-
Keep your Windows Hello PIN secret. If someone knows your PIN, they will be able to sign in to your device without your permission.
-
Use a strong PIN. Your PIN should be at least 4 characters long and should include a mix of upper and lower case letters, numbers, and symbols.
-
If you have multiple devices, you can use the same Windows Hello PIN on all of them. This makes it easy to sign in to all of your devices without having to remember multiple PINs.
-
Windows Hello is available on most modern Windows 10 devices. To check if your device supports Windows Hello, open the Settings app and navigate to Accounts > Sign-in options. If you see the “Windows Hello” section, then your device supports Windows Hello.## Configuring and Using Windows Hello for Secure Sign-ins
Executive Summary
Windows Hello is a biometric authentication feature that allows users to sign in to their Windows devices using their face, fingerprint, or iris. It is more secure than traditional password-based authentication methods and provides a more convenient and user-friendly experience. This article will provide a comprehensive guide on how to configure and use Windows Hello for secure sign-ins.
Introduction
In today’s digital age, protecting our online accounts and devices is more important than ever. Traditional password-based authentication methods are becoming increasingly vulnerable to hacking and phishing attacks. Windows Hello offers a more secure and convenient alternative by using biometric data to verify a user’s identity.
Configuring Windows Hello
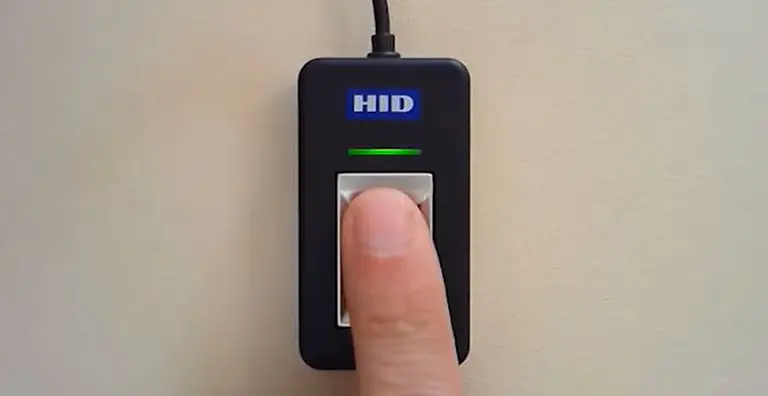
1. Fingerprint Recognition:
- Register your fingerprint: Go to Settings > Accounts > Sign-in options. Click on “Windows Hello Fingerprint” and follow the on-screen instructions to register your fingerprint.
- Enable fingerprint sign-in: After registering your fingerprint, toggle the “Sign-in to devices with fingerprint reader (recommended)” option to enable fingerprint sign-in.
- Configure additional settings: You can adjust sensitivity settings and add or remove registered fingerprints from this screen.
2. Facial Recognition:
- Register your face: Go to Settings > Accounts > Sign-in options. Click on “Windows Hello Facial Recognition” and follow the on-screen instructions to register your face.
- Enable facial sign-in: After registering your face, toggle the “Sign-in to devices with face recognition (recommended)” option to enable facial sign-in.
- Configure additional settings: You can adjust lighting conditions and add or remove registered faces from this screen.
3. Iris Recognition (if available):
- Register your iris: Go to Settings > Accounts > Sign-in options. Click on “Windows Hello Iris Recognition” and follow the on-screen instructions to register your iris.
- Enable iris sign-in: After registering your iris, toggle the “Sign-in to devices with iris recognition (recommended)” option to enable iris sign-in.
- Configure additional settings: You can adjust brightness settings and add or remove registered irises from this screen.
Using Windows Hello
Once you have configured Windows Hello, you can use it to sign in to your Windows devices quickly and securely.
- For facial recognition: Look directly at the camera on your device and wait for the lock screen to unlock.
- For fingerprint recognition: Place your finger on the fingerprint reader on your device and wait for the lock screen to unlock.
- For iris recognition: Look directly at the iris recognition camera on your device and wait for the lock screen to unlock.
Benefits of Using Windows Hello
- Enhanced Security: Biometric authentication provides a much higher level of security than password-based methods, making it harder for unauthorized individuals to access your device.
- Convenience: Eliminates the need to remember and type complex passwords, making it quicker and easier to sign in.
- User-friendly: The sign-in process is seamless and intuitive, making it easy for users of all ages and abilities to use.
- Multi-Factor Authentication: Windows Hello complements traditional password-based authentication by providing an additional layer of security. If one authentication method is compromised, the other one still provides protection.
- Seamless Integration: Windows Hello is deeply integrated into Windows 10 and 11, making it easy to use and access from any Windows device.
Conclusion
Windows Hello is a powerful and user-friendly biometric authentication feature that significantly enhances the security and convenience of signing in to Windows devices. By using your unique biometric data, you can enjoy faster, easier, and more secure sign-ins without compromising your privacy or security. Whether you prefer fingerprint, facial, or iris recognition, Windows Hello provides a secure and convenient solution for everyone.
Keyword Phrase Tags:
- Windows Hello
- Biometric Authentication
- Secure Sign-in
- Fingerprint Recognition
- Facial Recognition
Everytime i try to set up Hello it sais “somethings went wrong try again” and when i do, it sais the same shit. Further more, i always have to doit twice.
M$ is going full retard with WIN 10. It was (and still is) unusable with countless bugs and a total clusterf#$% of a UI. MS had to know this before forcing it on users. There is going to be backlash and plenty of mocking for a loooooong time for this.
This article makes me want to slap myself in the face .
All these new features are never tested by microsoft. That;s the reasone why you are having so many issues.
Your forgot to ad that facebook is also using this function in there aplication for many time now.
bla bla bla bla bla bla bla…….
I can’t belive this is real
I love the new face unlock feature by win10. It was so hard to unlock my pc when my hands where full. You should have talked about the weak part of this feature like the fact that almost everyone can unlock my computer.
U nether said wath windows hello and wath is has to do with face unlonk feacher.